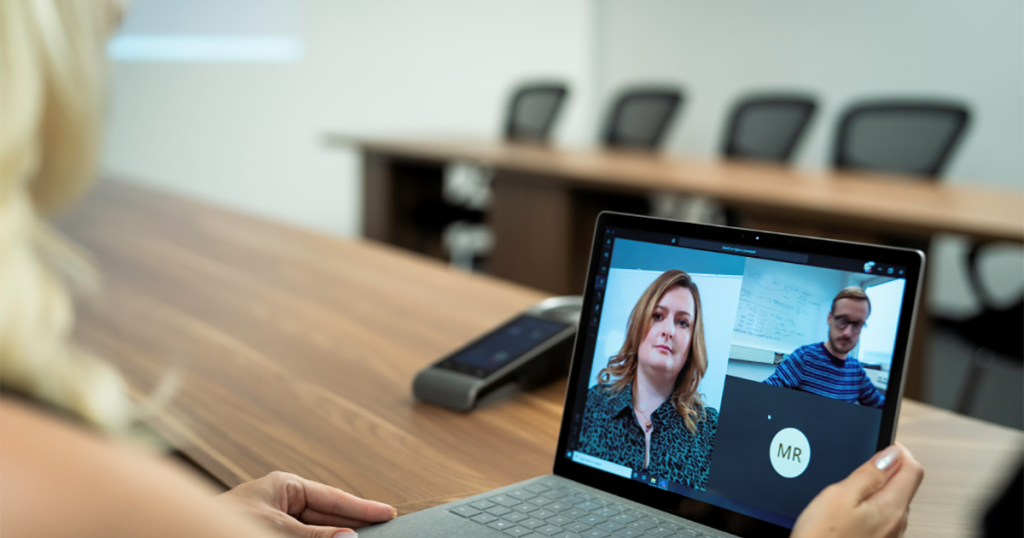
Microsoft Teams has become quite popular in recent years. Ever since the pandemic, it has become a vital platform for businesses. Microsoft Teams is a video conferencing tool, which allows people to attend virtual meetings. Since no one can remember everything discussed in a meeting or note down everything, knowing how to record a Microsoft Teams meeting could save you a lot of time. You wouldn’t have to ask people to repeat instructions. Companies also need to record such meetings to analyze later and recall major decisions.
The process of recording a meeting with Microsoft Teams is fairly simple.
Here is how you can record a meeting in Microsoft Teams:
Step 1: Finalize the Permissions
First of all, see that you have the right permissions. To start or stop a recording in a meeting, there are numerous permissions required. The user needs to have a subscription for Office 365 Enterprise, Business Essentials, or Premium. Moreover, the IT head of your company has to allow recording. Most organizations, except in certain cases, do not allow recordings. If you are working independently, then recordings have to be enabled by default.
Particular users can record meetings when they join. Those from different organizations and guests cannot record.
Step 2: Join the Meeting
Log into Microsoft Teams and join a meeting. Arrange for one person to start/stop the recording if necessary because you cannot make multiple recordings at the same time.
Step 3: More Actions
At the top of the window, you will see a menu. Select the More Actions option.
Step 4: Begin Recording
The More Actions would result in a drop-down menu. From there, select the Start Recording option. Some organizations have a recording policy that you have to accept first before starting the recording. But it is not common. Moreover, the attendees will receive a notification that the meeting is now being recorded.
Step 5: Transcriptions
Unless the administrator has blocked transcriptions, turning on the recording will turn them on too. When the recording ends, transcriptions are saved along with the video. You can view them in real time. If there is compliance or legal reasons for recording, transcriptions are critical.
One can stop live transcriptions at any time in the More Actions menu.
Step 6: Stop Recording
To stop recording, head over to the More Actions menu again. Select the Stop Recording option. The processing will take some time. Then you can view it.
View the Microsoft Teams Meeting Recording
After the meeting recording has completed the processing on Microsoft Stream, you will see a thumbnail appear in the chat where the meeting took place or in the team channel.
- In the meeting’s chat, click on the meeting recording
- You would see the video of the recorded meeting in the media player
- Click on the Play icon for playing the video
- The recording meeting will play. You can use the media player controls to go forward or backward in the video.
- Close the window when done.
Using the meeting recording feature of Microsoft Teams can make it easy to go back to analyze and revise important points in the meeting.


