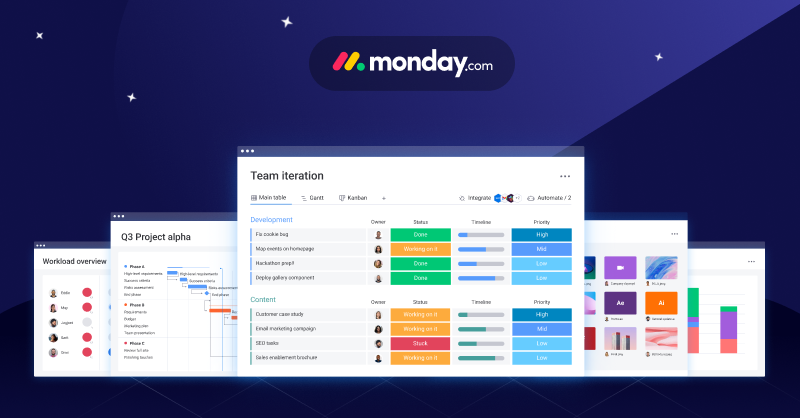
Monday is a project management software that helps teams stay organized and on track. By providing an overview of the key features and demonstrating how to use them, this blog will help you get the most out of Monday.com so you can achieve success with your projects. Here’s how to use Monday.
What is Monday?
Monday is a comprehensive project management tool that can be used for both personal and professional purposes. It provides a visual interface that helps you track tasks and progress, making it ideal for managing individual projects or team projects. With its versatile features, Monday.com can be used to manage work, home, and personal life effortlessly.
Learn How to Use Monday
The Monday dashboard is composed of three main areas:
- The Board is where you will create your project boards.
- The Groups are where you will categorize your tasks into different groups.
- The Items are the actual tasks themselves. Each task has its name, description, due date, and priority level.
Create a Board
To use Monday, you first need to create a board. To do this, click on the “+ Create Board” button on the top left-hand side of the dashboard.
Choose a Template
A pop-up window will appear asking you to choose a template for your board. There are six templates to choose from:
- Personal Project Management
- Workflow Management
- Task Management
- Kanban Board
- Scrum BoardBasic Template.
Create Board
Once you have chosen a template, give your board a name and click “Create Board”. Your new board will now appear on the dashboard under “My Boards.”
Form Your Groups
Adding groups to your board will help you keep track of all your tasks by categorizing them. To create a group, click on the “+ Add Group” button at the top of the page next to “My Boards”. A pop-up window will appear asking you for a group name and an icon for the group (optional). Once you have entered these details, click “Add Group” and your new group will appear on the left-hand side of the page beneath your board’s name.
Add Your items
Now that you have created a group, it’s time to add some items (tasks) to it! To do this, click on the “+ Add Item” button next to the name of your group. A pop-up window will appear asking you to enter an item name and select an icon for the item (optional). Once you have entered these details, click “Add Item” and your new item will appear in your group.
Add Your Columns
This is how you track the progress of your items from start to finish. By default, every board comes with four standard columns: To Do, Doing, Done, and Archive. You can customize these columns to better suit your needs or add new ones by clicking on the “+” sign next to the column name and selecting “Add column.”
Wrapping Up
This tool can help you boost efficiency by keeping all of your projects, tasks, and goals organized in one place. You can experiment with different ways of using it to match your specific needs.


